Best Practices for 3D Printing Design and Modeling
Introduction
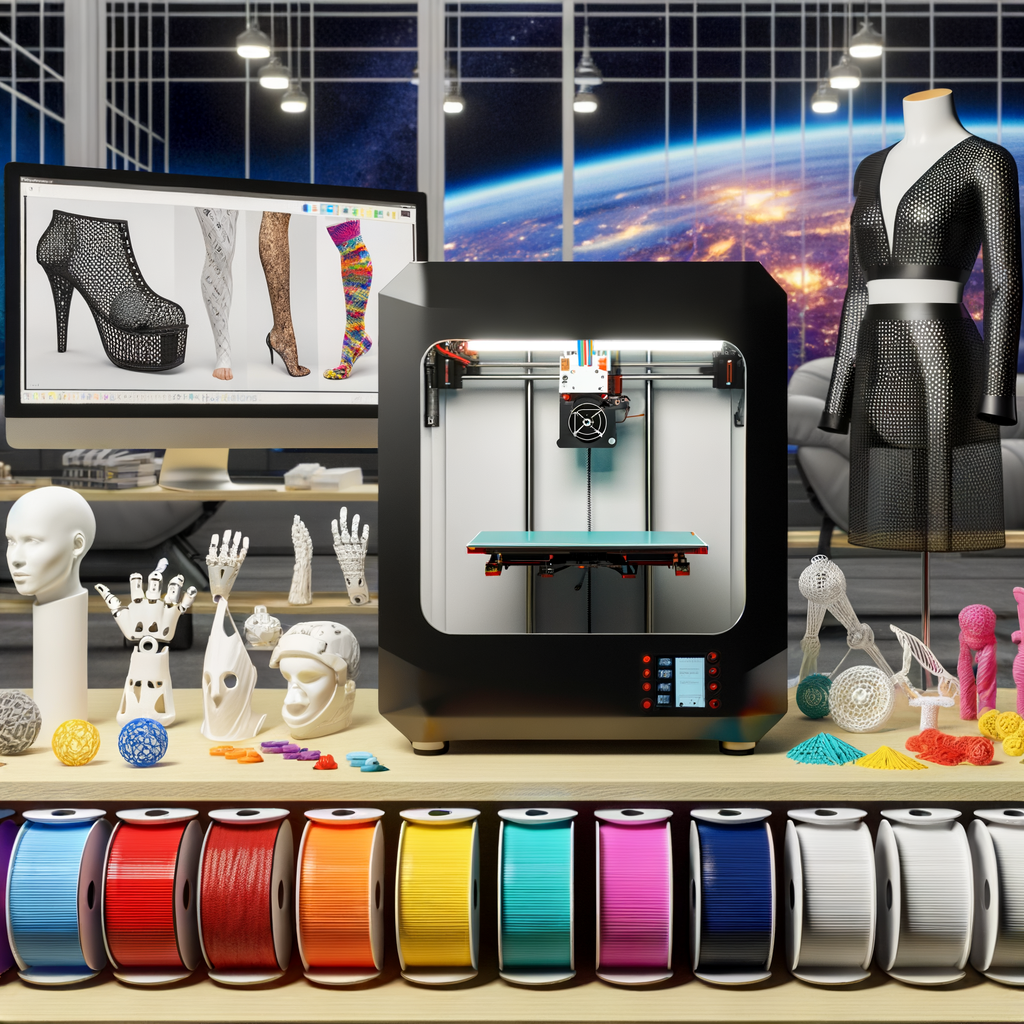
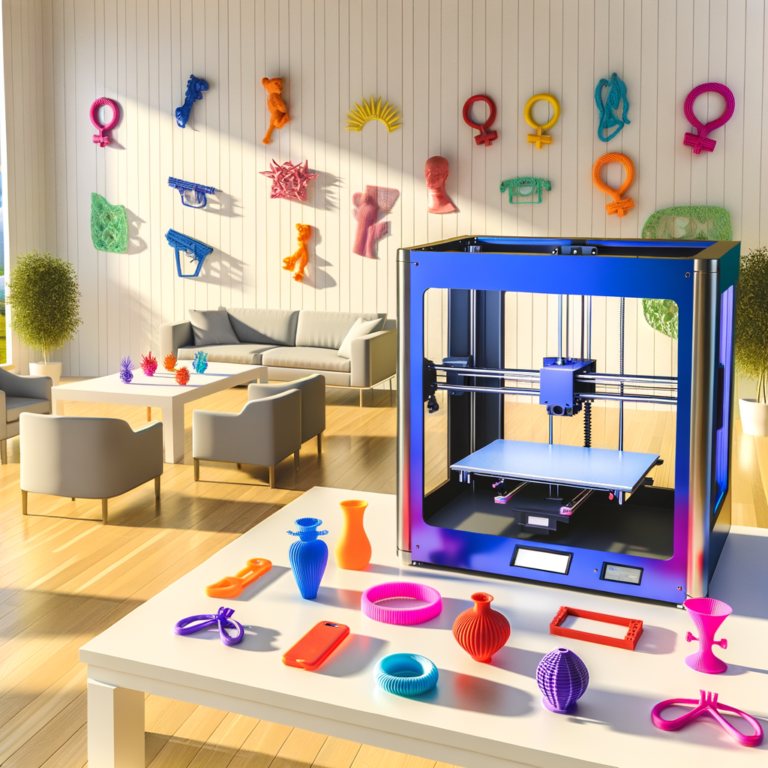
Alright, let's dive into the world of 3D printing! Imagine a machine that can take your wildest ideas and turn them into something you can actually hold. Sounds like science fiction, right? But it's not—it's happening right now. 3D printing is like having a mini factory on your desk. It’s revolutionized industries from healthcare, where they're printing custom prosthetics, to fashion, where designers are crafting unique pieces you won't find anywhere else. Even in space! NASA's been using 3D printing to produce tools for astronauts aboard the International Space Station. Talk about out-of-this-world applications!
But here's the catch: just because you can print something doesn't mean it’s going to be perfect right out of the gate. Nope, it’s not magic, folks! That's where best practices come in. Whether you're a seasoned designer or just starting out, following some basic guidelines can save you a ton of headaches and wasted materials. Imagine spending hours designing a masterpiece only to have it collapse in the printer. Yikes! So, let’s make sure your creations come out looking as fabulous as you imagined. Stick with me, and we'll make sure your 3D printing adventures are more yay than nay!
Understanding the Basics of 3D Printing
Alright, let’s dive into the world of 3D printing, where your imagination gets to play in the sandbox of reality! It's like magic, but with more plastic and less wand-waving. At its core, 3D printing, also known as additive manufacturing, is all about creating three-dimensional objects layer by layer. Think of it like building a Lego masterpiece, but instead of snapping bricks together, you're using a machine to stack super-thin layers of material until—voila!—your design is complete.
Now, let's talk about the different types of 3D printers. There are several, but we'll hit the highlights here. First up, we have Fused Deposition Modeling (FDM) printers, the bread and butter of the 3D printing world. These are the ones you might have seen in action, with a nozzle extruding hot plastic filament to build objects layer by layer. They're great for beginners and hobbyists because they're relatively affordable and easy to use.
Then there's Stereolithography (SLA) printing, which sounds fancy because it is! SLA printers use a laser to cure liquid resin, creating super detailed and smooth objects. If you're all about those fine details, SLA might be your jam. Just remember, handling resin can be a bit like handling a science experiment, so gloves on, folks!
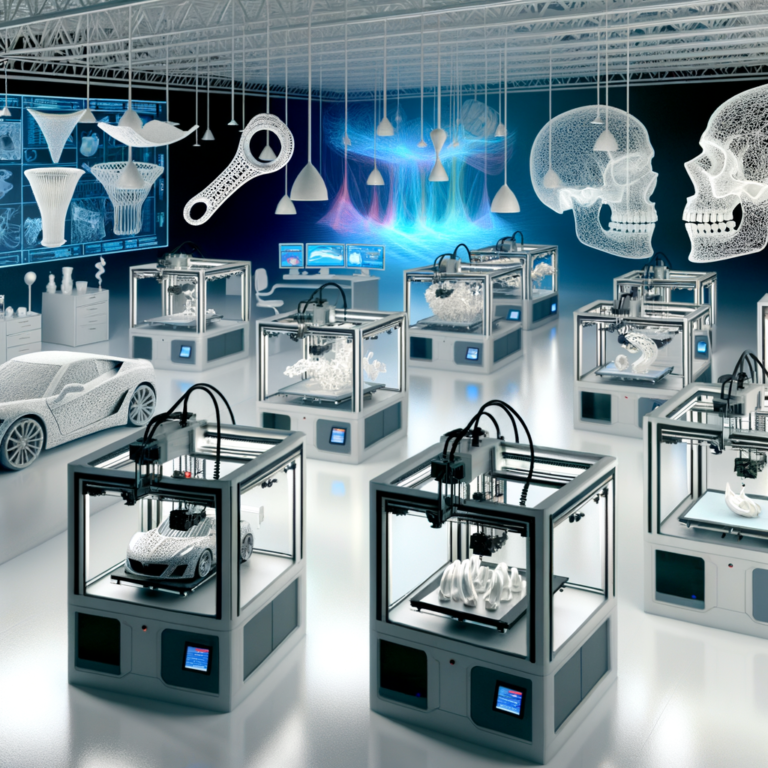
And let’s not forget Selective Laser Sintering (SLS). This one's a powerhouse, using a laser to fuse powdered material like nylon or metals. It's often used for industrial purposes, so if you’re dreaming big, like making parts for cars or aerospace projects, SLS is your go-to.
Each type of printer has its own set of applications and best uses. FDM is perfect for prototyping and creating functional parts. SLA is ideal for detailed models like figurines or jewelry, and SLS is fantastic for strong, durable parts. Choosing the right printer depends on what you want to make, so it's like picking the right tool from your toolbox.
And there you have it, a quick tour of the basics of 3D printing. With this knowledge in your back pocket, you’re one step closer to bringing your creative ideas to life. Just remember, like any good recipe, a successful 3D print starts with understanding your ingredients—and in this case, your printer!
Essential 3D Printing Design Best Practices
Alright, let’s dive into the nitty-gritty of making sure your 3D prints come out looking like a masterpiece rather than a melted marshmallow. We’ve all been there, right? Watching our print fail halfway through is like watching your ice cream fall off the cone on a hot day. Heartbreaking! But fear not, because with these best practices, you’ll be on your way to printing glory.
Start with a Solid Foundation
First things first, you need a solid base. And I’m not just talking about a metaphor for life here. In 3D printing, a stable foundation is crucial. Think of it as the bedrock of your design. If your print wobbles more than a jelly on a plate, you’re in for some trouble. Make sure the base of your design is wide enough to support the rest of the structure. This helps prevent those annoying printing errors where your model decides to take a nap mid-print. So, channel your inner architect and lay down a solid foundation—it’s the first step to print perfection!
Mind the Overhangs
Overhangs are like the rebellious teenagers of 3D printing—they’re tricky to handle but manageable with the right approach. When your design has parts that jut out, gravity becomes your frenemy. To keep these overhangs from turning into a droopy mess, think about adding support structures. They’re like scaffolding for your print, holding everything up until it’s strong enough to stand on its own. Alternatively, design your model with a slight angle or curve to reduce the need for extra support. It’s all about balance and foresight, kind of like life!
Optimize Wall Thickness
Wall thickness might sound like a boring topic, but trust me, it’s crucial. Too thin, and your print might resemble a potato chip—fragile and prone to snapping. Too thick, and you’re wasting material and time. So, what’s the magic number? A good rule of thumb is to aim for walls that are around 1.2 to 3 mm thick. This range typically offers a nice balance between strength and material efficiency. Remember, Goldilocks got it right: not too thick, not too thin—just right!
Consider Layer Height
Layer height is where art meets science. It’s all about finding that sweet spot between resolution and speed. A smaller layer height means more detail, but it also means more time. If you’re printing a detailed figurine, go for a smaller layer height like 0.1 mm to capture every nook and cranny. But if you’re printing something more utilitarian, like a phone stand, you can afford to go thicker, say 0.2 or 0.3 mm. It’s like choosing between a high-definition movie and a quick YouTube clip. Both have their place, depending on what you’re after!
So there you have it! With these best practices in your toolkit, you’re well on your way to becoming a 3D printing maestro. Remember, every print is a learning opportunity, and with a bit of patience and creativity, you’ll be crafting amazing designs in no time. Happy printing!
Designing for Functionality and Aesthetics
Alright, let's dive into the fun stuff—making sure your 3D printed masterpiece isn't just a pretty face but also knows how to do its job! Because, let's be honest, nobody wants a door handle that looks like a million bucks but snaps off in your hand the first time you use it.
Incorporate Functional Elements
First things first, when you're designing something that needs to actually work—like gears, hinges, or even a simple box with a lid—precision is your best friend. Think of it like putting together a puzzle; every piece needs to fit just right. One of the coolest things about 3D printing is that you can create intricate parts that fit together perfectly, but that also means you need to pay close attention to tolerances. You know, that tiny gap between parts that lets them fit snugly without being too tight or too loose. A good rule of thumb? Leave a little wiggle room—about 0.2mm usually does the trick.
And hey, don't forget about orientation! The way you position your design in the printer can affect its strength. Printing layers horizontally can make your creation stronger, like stacking bricks for a sturdy wall. So, when you're designing, think about how your model will handle the forces it'll encounter in the real world.
Enhance Aesthetic Appeal
Now, let's talk about making your design look as good as it functions. Adding textures and details can really bring your model to life. Think about it like adding frosting to a cake; it’s the finishing touch that makes it look irresistible. You can use software to add patterns or engravings, which can make a simple design look super fancy.
And if you're going for that wow factor, consider playing with colors. Some 3D printers let you use multiple colors in a single print, so you can create eye-catching designs that stand out. Just remember, while aesthetics are important, they shouldn't compromise functionality. Balance is key!
In the end, designing for 3D printing is all about marrying form and function. So, get creative and let your imagination run wild, but always keep one foot planted firmly in practicality. After all, the best designs are the ones that not only look amazing but also work flawlessly. Happy designing!
Material Considerations in 3D Printing
Alright, let's dive into the colorful world of 3D printing materials! Imagine you're a kid in a candy store, but instead of gummy bears and chocolate bars, you've got spools of filament and bottles of resin. Each material has its own personality and quirks, and choosing the right one can make or break your project. So, how do you pick the best fit for your design? Let’s explore.
First up, we have the ever-popular PLA, or Polylactic Acid. Think of PLA as the friendly, easy-going neighbor who’s always ready to lend a hand. It's biodegradable, made from renewable resources like corn starch, and it's pretty forgiving when it comes to printing. PLA is perfect if you're just starting out or if you're printing something that doesn't need to withstand a lot of stress, like a decorative vase or a prototype for a school project.
Next on the list is ABS, which stands for Acrylonitrile Butadiene Styrene. Sounds fancy, right? ABS is like the tough cousin who’s great at building things. It’s strong, durable, and can handle a bit of heat, making it ideal for functional parts like phone cases or even LEGO bricks. But beware, ABS can be a bit of a diva—it requires a heated bed and a well-ventilated space, as it can release some less-than-pleasant fumes.
Now, if you’re aiming for something flexible, TPU (Thermoplastic Polyurethane) might be your material soulmate. Imagine a rubber band that can hold its shape. That’s TPU for you! It's great for things like phone grips or wearable gadgets. Just remember, patience is key when printing with TPU; it’s a bit slower due to its stretchy nature.
And let’s not forget about PETG, the blend of strength and flexibility. It’s like the best of both worlds—stronger than PLA and less finicky than ABS. PETG is perfect for items that need to be tough but also have a bit of give, like water bottles or mechanical parts.
For those of you who are feeling adventurous, there’s a whole universe of specialty materials. Wood-filled filaments can give your prints a rustic look, while metal-infused filaments can add a touch of industrial chic. Just keep in mind, these materials often require specific printer settings and sometimes a bit more post-processing.
So, how do you choose? Start by asking yourself what your print needs to do. Is it supposed to just look pretty, or does it need to survive the apocalypse? Consider the environment it’ll be in—will it be outdoors or exposed to heat? And of course, think about your printer’s capabilities. Not every printer can handle every material, so check the specs before you buy.
Remember, the right material can elevate your design from good to great. It’s all about matching the material to the function and aesthetic of your project. And hey, don't be afraid to experiment. Sometimes the best creations come from a little bit of trial and error. Happy printing!
Troubleshooting Common 3D Printing Design Issues
Ah, the joys of 3D printing! You've spent hours perfecting your design, hit the print button, and then… disaster strikes. Fear not, my fellow maker! Let's dive into some common design hiccups and how to tackle them like a pro.
Warping Woes
First off, let's talk about warping. It's like your print has decided to do a little dance on the print bed. This usually happens because of uneven cooling, where parts of the print cool at different rates and start curling up. To keep things flat and fabulous, make sure your print bed is properly leveled and heated. Using a brim or raft can also help keep those edges stuck down. And don't forget about material choice—some materials like ABS are more prone to warping than others like PLA.
Layer Shift: When Your Print Takes a Detour
Next up, layer shift. It's when you notice your print has suddenly decided to move sideways, like it's trying to escape the print bed. This often happens due to loose belts or motors. Tighten things up and check your printer's mechanics. Also, ensure your design doesn't have abrupt changes in geometry that might confuse the printer. Slow and steady wins the race here!
Stringing Along
Ever seen a 3D print that looks like a spider went wild with its webbing? That's stringing, and it can be a real visual bummer. This happens when the nozzle leaks plastic while moving across open spaces. You can reduce this by adjusting the retraction settings in your slicer software. Play around with the retraction distance and speed until you find the sweet spot where the strings disappear.
Elephant’s Foot: Not as Cute as It Sounds
Now let's tackle the infamous elephant's foot. This is when the first few layers of your print are squashed outward, making it look like it's wearing a flared-out skirt. To combat this, ensure your print bed is not too close to the nozzle at the start. You can also try adjusting the first layer settings to be a tad thicker and slower, giving it a better chance to settle nicely.
Overhang Headaches
Lastly, those pesky overhangs can sometimes look more like a drippy mess than a sleek design. Remember, overhangs over 45 degrees usually need some support. If your design is struggling, consider adding support structures or redesigning to include built-in supports. And don't worry, practice makes perfect. Every failed print is just a stepping stone to becoming a 3D printing wizard.
So there you have it! With these tips in hand, you're ready to tackle those print issues head-on. Remember, every print is a learning opportunity, and with a little patience and tweaking, you’ll soon be creating masterpieces without a hitch. Keep calm and print on!
Tools and Software for 3D Modeling
Alright, let's dive into the digital toolbox you'll need to turn those crazy ideas into 3D printed masterpieces! Imagine this: you've got an idea buzzing in your head, and you can't wait to see it in the real world. But first, you'll need some handy-dandy software to make it happen. Don't worry, I've got your back with some recommendations that even a seventh-grader can handle.
First up, let's talk about TinkerCAD. This one's like the training wheels of 3D modeling tools. It's super user-friendly and web-based, so you don't even need to install anything. TinkerCAD is perfect for beginners and kids—think of it as the colorful playground where you can drag and drop shapes to create simple models. It's great for getting your feet wet!
Moving on to something with a bit more oomph, we have Fusion 360. This is the Swiss Army knife of 3D modeling software. It's got all the bells and whistles: parametric design, simulation, and even collaboration features. Plus, it’s free for students, educators, and hobbyists. Fusion 360 is like that cool kid in school who knows everything and is super helpful. You'll love it for more complex projects where precision matters.
Now, for those of you who like open-source goodies, there's Blender. It's not just for 3D printing—Blender is a powerhouse for animation and rendering, too. It’s a bit like learning to ride a bike without training wheels, but once you get the hang of it, you're unstoppable. Blender is perfect if you're the creative type who wants to add a bit of flair and artistry to your designs.
Let's not forget SketchUp. This one's a crowd favorite for architectural designs and larger models. Think of it as Legos for grown-ups. It's intuitive and has a huge library of pre-made models, which can save you a ton of time. SketchUp is great for when you want to build something big and need a strong visual sense of space.
Now, what features should you look for in these tools to make your 3D printing life easier? Keep an eye out for features like auto-repair for meshes, which ensures your model won't have any hidden errors that could mess up the print. Also, check if the software offers support structure generation. This is like having a safety net for those tricky overhangs we talked about earlier.
Remember, the best tool is the one that fits your needs and feels right for you. Experiment with a few, see what clicks, and don't be afraid to mix and match. The world of 3D modeling is your oyster, and with the right software, you can create some truly amazing things. So, roll up those sleeves and get modeling!
Tips for Iterative Design and Prototyping
Alright, let's dive into the fun part—iterative design and prototyping! Think of it like baking a cake. You wouldn't just throw ingredients together and hope for the best, right? You'd taste as you go, maybe tweak the recipe a bit, and make sure it's perfect before serving it up. The same goes for 3D printing. It's all about refining and testing until your creation is just right.
First things first, prototyping is your best friend. Seriously! It's like having a dress rehearsal before the big show. By creating a prototype, you can catch design flaws early and save yourself a ton of time and material. Imagine printing an entire model only to find out that one little piece doesn't fit. Ugh, frustrating! Prototyping helps you avoid those "facepalm" moments.
Now, let’s talk strategy. When you're refining your design, start with a smaller, simplified version. This way, you can quickly test the key features without committing to a full-scale model. Once you're confident everything fits and functions properly, then you can go big. It's like building a LEGO set—test the structure with a few blocks before going all-in.
Feedback is golden. Don't be afraid to show your prototype to others and ask for their thoughts. Fresh eyes can catch things you might have missed, and who knows, they might even suggest improvements you hadn't considered. It's like having a team of sous-chefs in your design kitchen.
And here's a nifty tip: keep a design journal. Document your changes and the results of each test. Not only does this help you track what works and what doesn't, but it also saves you from repeating past mistakes. Plus, it's super satisfying to look back and see how far your design has come.
Remember, patience is key. Iterative design might take a bit longer, but the payoff is totally worth it. You'll end up with a polished, functional, and aesthetically pleasing model that you can proudly show off. So, put on your creative hat, embrace the process, and keep refining until your masterpiece comes to life. Happy prototyping!
Alright, we've covered a lot of ground here, haven't we? From nailing down those basics to diving deep into the nitty-gritty of design, you've got a toolkit full of tips to make your 3D printing projects truly shine. Let's do a quick recap, shall we?
First up, remember that starting with a solid foundation isn't just a metaphor for life – it’s crucial in 3D printing too! This is your bedrock for ensuring your masterpiece doesn’t turn into a wobbly mess. And speaking of messes, those pesky overhangs? Yeah, they can be a real pain, but with the right support structures, you can conquer them like a pro.
Wall thickness is another biggie. It's all about striking that perfect balance between strength and material use. Think of it like Goldilocks – not too thick, not too thin, but just right. And then there’s layer height, which plays the role of the unsung hero in determining both the resolution and speed of your print. It’s like choosing between a high-definition movie or a quick YouTube clip.
Functionality and aesthetics? You got this! Make sure those parts fit together seamlessly and don’t forget to sprinkle in some pizzazz with textures and details. And when it comes to materials, the world is your oyster. Choose wisely based on what you need – whether it’s flexibility, strength, or something else entirely.
Troubleshooting? Consider yourself armed with solutions for those common hiccups. And don’t forget about those handy tools and software that can make design a breeze. They're like the magic wand to your 3D printing wizardry.
Finally, never underestimate the power of prototyping. It’s your best friend in this journey, helping you refine and perfect your designs. Test, tweak, repeat – that's the mantra.
So, there you have it! Use these best practices to bring your designs to life. Whether you're crafting a simple gadget or a complex model, these tips will help you avoid pitfalls and turn your creative visions into reality. Now, go forth and print with confidence. And remember, the only limit is your imagination. Happy printing!
